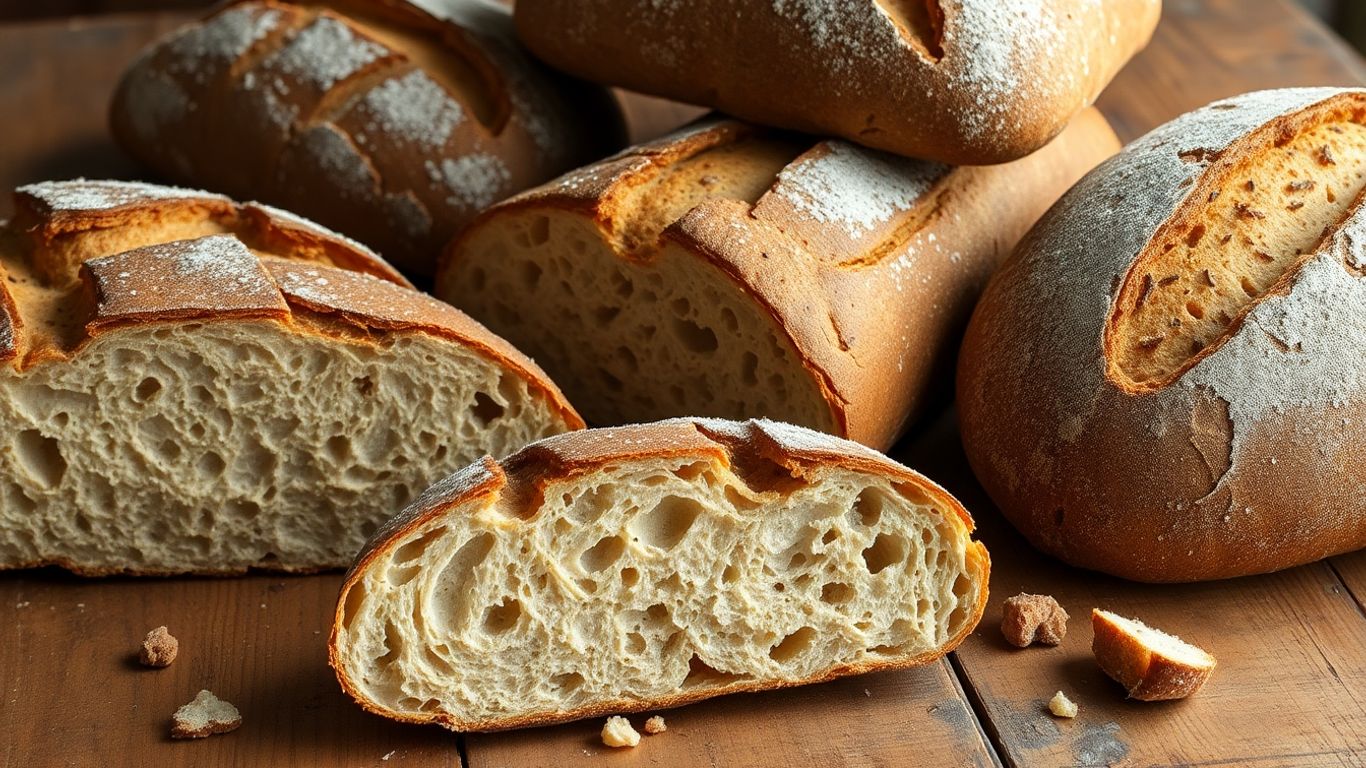
Ever had a loaf come out of the oven and just thought, “What on earth happened there?” You’re definitely not alone. Even folks who bake bread all the time can run into trouble. Sometimes it’s a flat loaf, sometimes it’s a crust that’s more like a rock, or maybe the inside is still a bit raw. Bread can be fussy, and little slip-ups can make a big difference. Let’s talk about some of the baking mistakes that sneak up on even the most experienced bakers, and how you can dodge them next time.
Key Takeaways
- Always weigh your ingredients – guessing often leads to odd results.
- Cover your dough well to keep it from drying out and ruining the rise.
- Don’t trust your oven blindly – check the temperature and resist opening the door until your bread is nearly done.
Precision Matters: Weighing and Measuring in Baking
Ask any regular at your local bakery—accuracy isn’t just a technicality when it comes to bread. It’s what separates a soft, perfectly crumbed loaf from something better used as a doorstop. I’ll admit, even after years in the kitchen, I’ve still messed this up. So, let’s break down the two main traps that even the more seasoned among us can fall into.
The Pitfall of Eyeballing Ingredients
Been there, done that, and ruined a batch or two along the way. Grabbing a bag of flour and chucking in what "looks about right" might work for a stew, but it just doesn’t fly with bread. Flour, sugar, and even water can throw off your bake with just a small misjudgement.
- Eyeballing can mean you add too much flour, leading to heavy and dry bread.
- Going too light on water can give you a dense crumb.
- Salt is easy to forget, and too little or much will throw the whole flavour off.
Here’s a side-by-side of the difference between using cups and scales:
| Measuring Method | Chance of Error | Typical Result |
|---|---|---|
| Cups by eye | High | Inconsistent loaves |
| Weighing (grams) | Low | Consistent every time |
When you don’t bother weighing, you end up rolling the dice. Sometimes it works, sometimes it’s just disappointing bread no one finishes.
Choosing the Right Tools for Consistency
There’s something to be said for the right gear in the kitchen. Sure, you can get by with an old mug and a battered spoon, but investing in a digital scale changed my bread game completely. It’s worth it—even the folks at The Daily Knead bakery swear by quality equipment for their legendary pastries.
Think of these as your go-to tools:
- Digital kitchen scales (get one that weighs in grams for accuracy)
- Measuring spoons for tiny bits like salt and yeast
- A clear jug for wet ingredients, if precision is needed
Consistency doesn’t happen by accident. It comes from doing things the same way every time, with the same tools.
If you’re guilty of switching recipes regularly, try sticking to one and nailing the measurements before experimenting. Repeat, repeat, repeat. The best bakes often come from a little persistence and a resistance to "winging it."
Mastering Dough and Proofing Techniques
You wouldn’t believe how easily even an experienced home baker can forget a simple step with dough, and suddenly, it all goes sideways. Let’s get into two stages where things often go wrong:
Covering Dough Properly to Prevent Drying
I can’t tell you how often I’ve ruined good dough just by letting it sit uncovered—somehow I always thought, “It’ll be fine for five minutes!” But, exposed dough dries out super fast and forms a tough skin. This makes it hard for the dough to rise, and that skin can actually weigh down the whole loaf. Here’s what I do now:
- Wrap the bowl with cling film and then throw a clean kitchen towel over the top. Sounds silly, but it works.
- Avoid just using a tea towel—air sneaks in!
- Yeast is picky about its environment, so if it gets too draughty, the dough will sulk and not puff up properly.
If you’re short on cling film, a shower cap works in a pinch—seriously, I keep a spare one just for bread days.
Achieving the Perfect Proof Every Time
Anyone else get bored and sneak a peek during proofing? I do! That’s probably why so many of my early loaves were flat. Here’s what I’ve messed up, and how I fixed it:
- Don’t rush proofing—let the dough hang out somewhere warm, but not hot. If it’s chilly, the yeast will nap, not work.
- Check with the poke test: gently press a floured finger into the dough. If the mark springs back too fast, it’s not ready; if it barely comes back, time to bake.
- Over-proofing is a pain—the dough will stick to the covering, and when you try to pull it off, half your dough comes with it.
Here’s a quick rundown:
| Proofing Signs | What It Means |
|---|---|
| Springs back fast | Needs more proofing |
| Barely springs | Ready to bake |
| Feels sticky/collapses | Over-proofed, be careful! |
Never underestimate second guessing at this stage. Most of my "dense brick" failures were thanks to half-baked proofing. It’s all patience and paying attention.
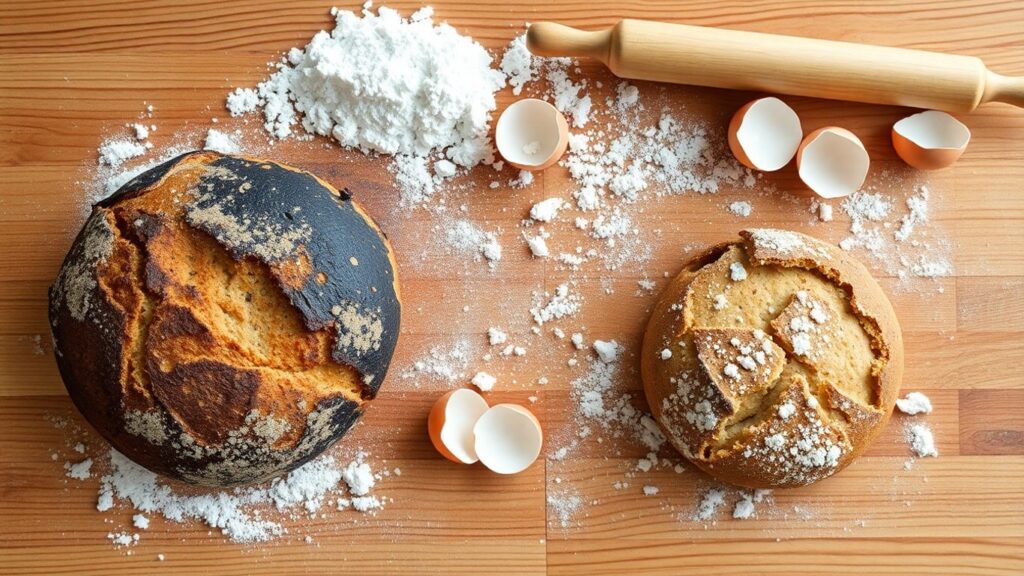
Oven Know-How: Baking at the Right Temperature
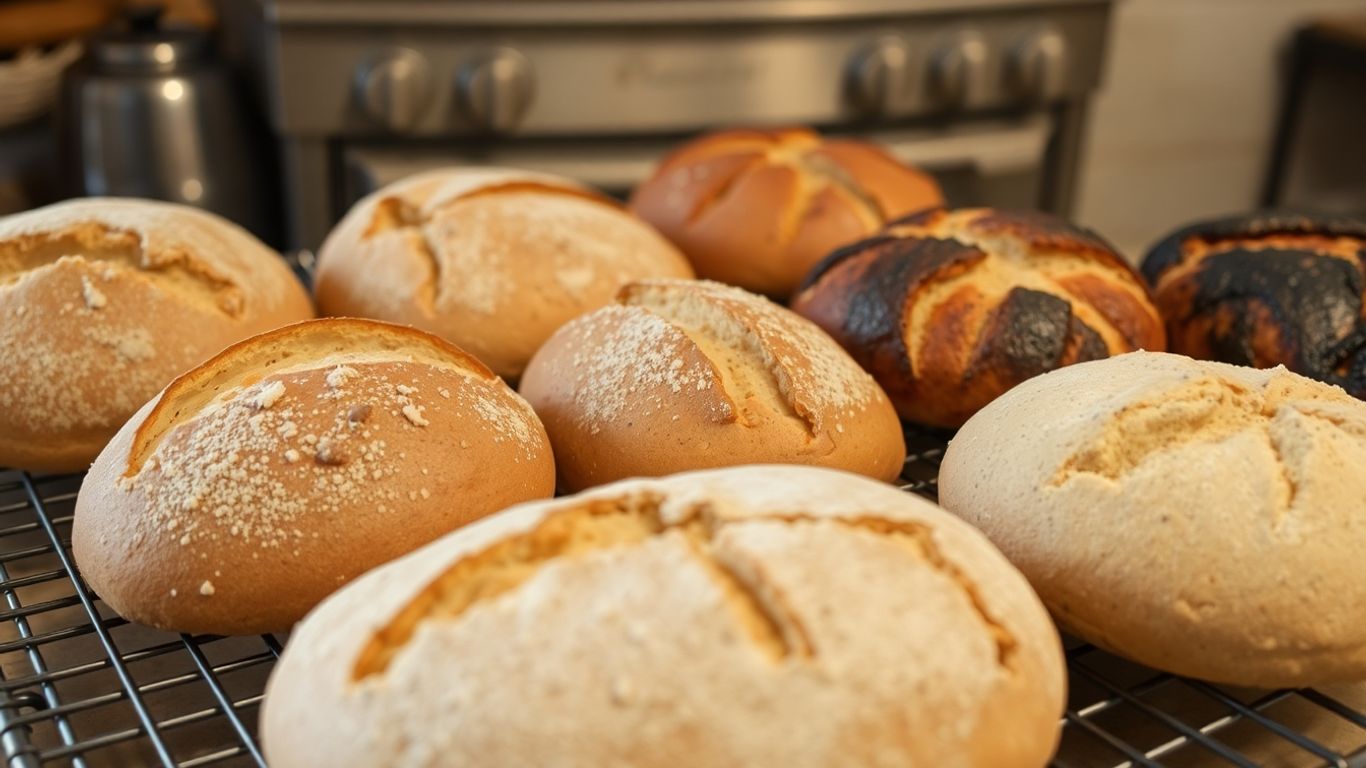
There’s nothing like throwing a loaf in the oven and waiting for that amazing smell to fill the kitchen. But if you’re not paying attention to the temperature, things can go sideways fast. Ovens can be unpredictable—maybe yours runs a bit hot, or sometimes colder than you’d expect. Getting the right heat is key to bread that’s soft inside and crispy outside. Let’s get into where things often trip people up.
Double-Checking Your Oven’s Accuracy
It’s easy to trust your oven’s dial, but honestly, a lot of ovens are off by a good few degrees. That’s plenty of room for your loaf to either undercook or dry out. Don’t just take the dial’s word for it—use an oven thermometer and see what’s really going on. Here’s a quick way to check:
- Place an oven thermometer in the centre of the oven and preheat it to a standard temp (say, 180°C).
- After about 15 minutes, check the thermometer. Note down any difference between it and what the dial says.
- If your oven runs hot or cold, adjust the temperature next time by however many degrees it’s out.
| Oven Dial (°C) | Actual Temp (°C) | What To Do |
|---|---|---|
| 180 | 170 | Turn up the dial 10 degrees |
| 180 | 190 | Turn down the dial 10 degrees |
| 180 | 180 | You’re good to go! |
When you start using an oven thermometer, don’t be surprised if you suddenly start baking bread that actually looks and tastes like something from a bakery.
The Consequences of Opening the Oven Door Too Soon
We get it—curiosity gets the best of all of us. But opening the oven door too early is a surefire way to ruin your loaf. Here’s what can go wrong:
- The temperature inside the oven drops instantly—sometimes by 10°C or more.
- That sudden loss of heat means your bread might collapse in the middle, especially if it’s still rising.
- Uneven baking, so the crust is done but the middle’s soggy.
Try these tips:
- Use the oven light and peek through the window instead of opening the door.
- Trust your timer and only open up if you really need to rotate the tray.
- For breads that are touchy, like sourdough, just leave it alone until you’re sure it’s set up enough.
Mess up your oven temperature, and even the best dough won’t save you. Paying attention to your oven isn’t just for perfectionists—it’s the difference between a sad, gummy loaf and that bakery-level bread you were after.
Getting your oven’s temperature just right makes all the difference when baking. Too hot and your goodies might burn, too cold and they won’t rise like they should. Want to learn more simple tips for baking success? Visit our website for more helpful ideas!
Wrapping Up: Bread Mishaps Happen to the Best of Us
So, there you have it – even the most seasoned bakers have their off days. Sometimes you follow the recipe to the letter and things still go sideways. Maybe you forgot to weigh your flour, or your oven decided to play tricks on you. It happens. The main thing is not to get discouraged. Every loaf that flops is just another lesson for next time. Keep notes, trust your instincts, and don’t be afraid to laugh at your baking disasters. At the end of the day, even the wonkiest bread usually tastes pretty good with a bit of butter. Happy baking, and remember – nobody gets it right every single time!
Frequently Asked Questions
Why does my bread sometimes turn out too dense or heavy?
A dense loaf usually means something went off with the dough. Maybe you didn’t let it rise long enough, or the yeast wasn’t working properly. It can also happen if you use too much flour or not enough water. Make sure to follow the recipe closely, measure your ingredients, and give your dough enough time to rise.
Is it really that important to weigh my ingredients instead of just using cups?
Yes, weighing your ingredients makes a big difference! Cups can be tricky because you might pack in more or less flour each time. Using a scale means you get the same amount every bake, which helps your bread turn out right every time.
What’s the big deal about opening the oven door while baking bread?
Opening the oven door lets out heat and can mess with the baking process. If you open it too soon, your bread might not rise properly or could even sink in the middle. Try to keep the door closed until your bread is almost done, and only open it if you really need to check.