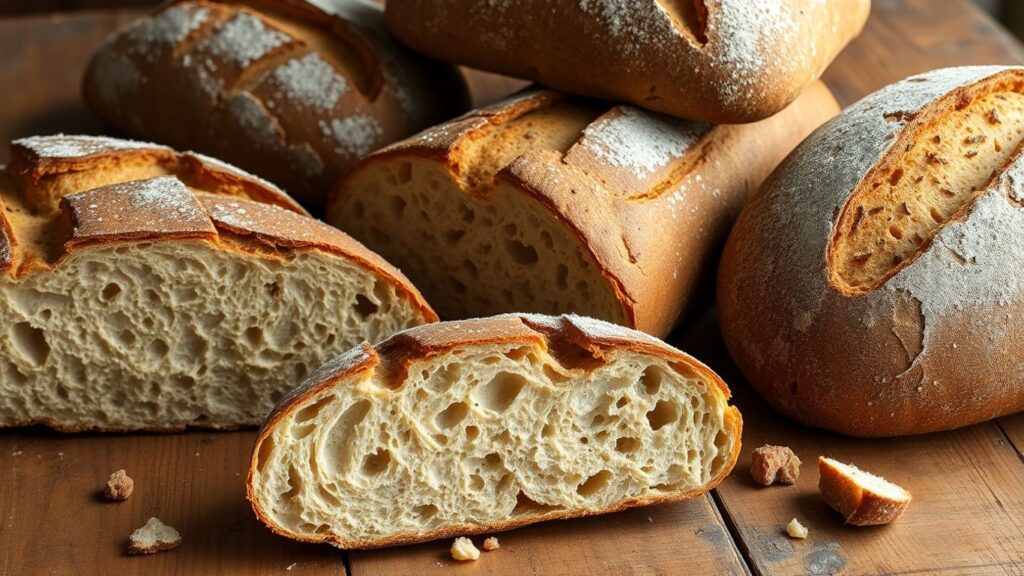
There’s something special about the crust on artisan bread. Some people love that loud crunch when you bite in, while others go for the chewy, stretchy edge that takes a bit more effort to tear. If you’ve ever wondered why artisan bread crust can be so different from one loaf to the next, you’re not alone. It’s all about the ingredients, how the dough is handled, and even what you bake it on. Let’s have a look at what makes artisan bread crust either crunchy or chewy, and how you can get the style you like best at home.
Key Takeaways
- The texture of artisan bread crust comes down to a mix of ingredients, dough handling, and baking methods.
- Hydration level and flour type play a big part in whether your crust turns out crisp or chewy.
- Using steam and baking on stone or steel can really help you get that perfect artisan bread crust, no matter your preference.
The Art of Artisan Bread Crust: Crunch Versus Chew
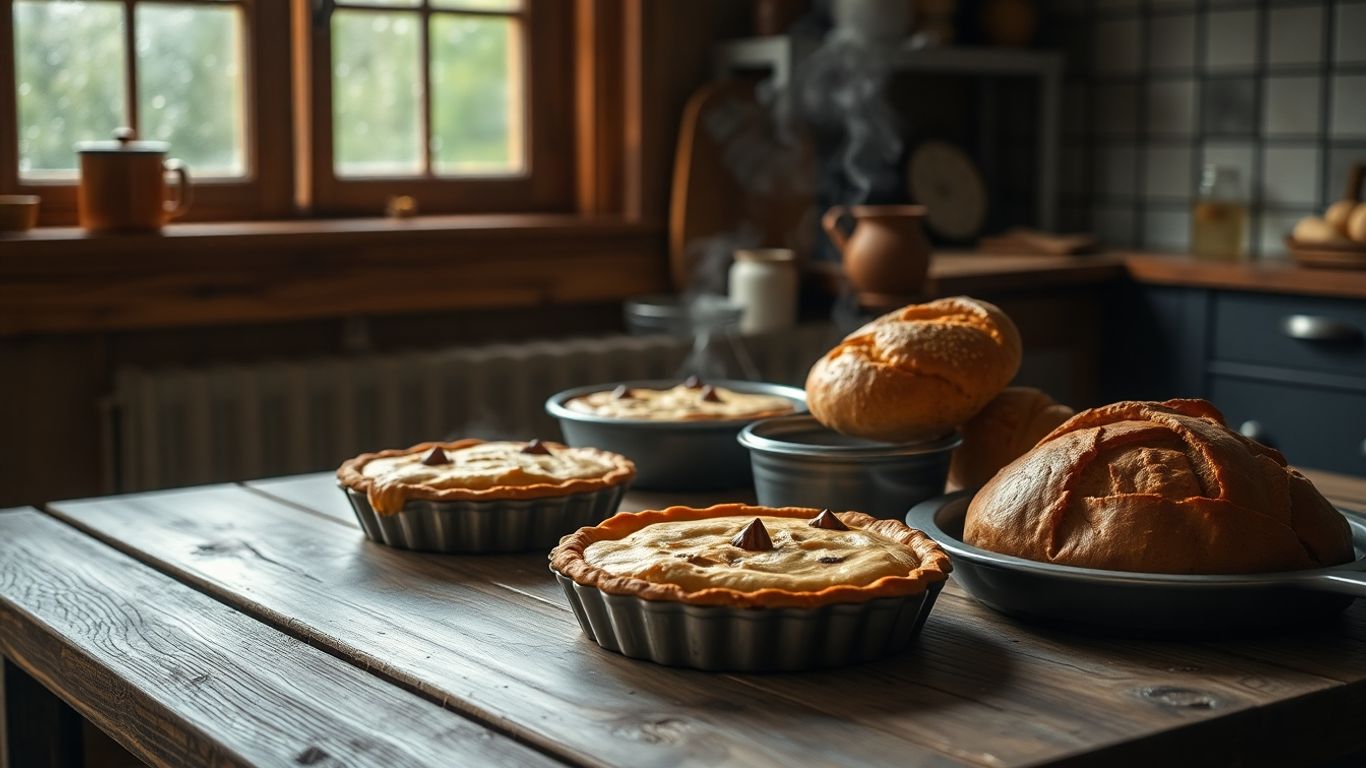
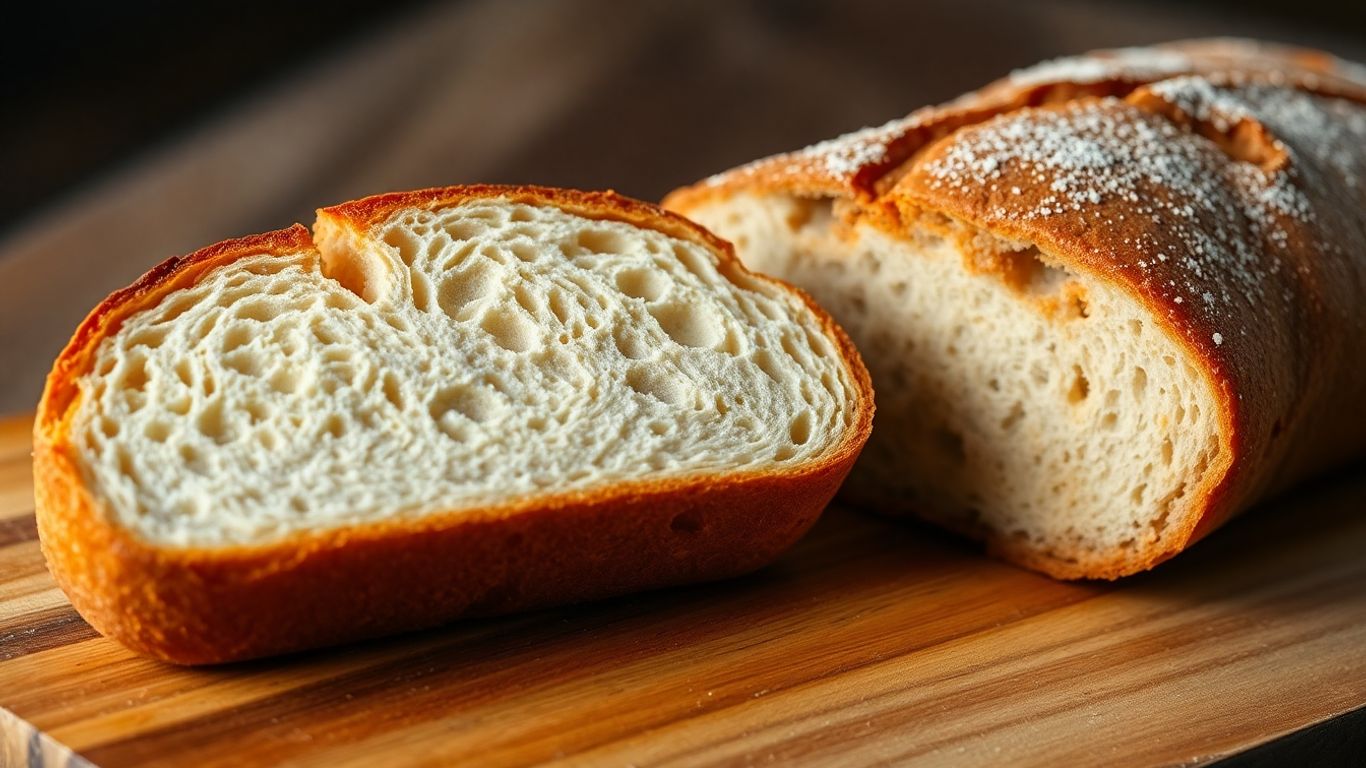
When you bite into a fresh loaf from your local bakery, it’s the crust that hits you first—sometimes it’s that loud, shattering crunch, sometimes it’s a bit more stretchy and chewy. In the world of artisan bread, crust might seem like just an outer layer, but it’s one of the reasons people queue up every morning at places like The Daily Knead just to snag a loaf before they sell out. Crust is where a loaf’s character really shines through.
What Defines a Crispy Artisan Bread Crust
The dream for many bread lovers is that satisfying crunch you get as you break open a sourdough or a baguette. Here’s what sets a crispy crust apart:
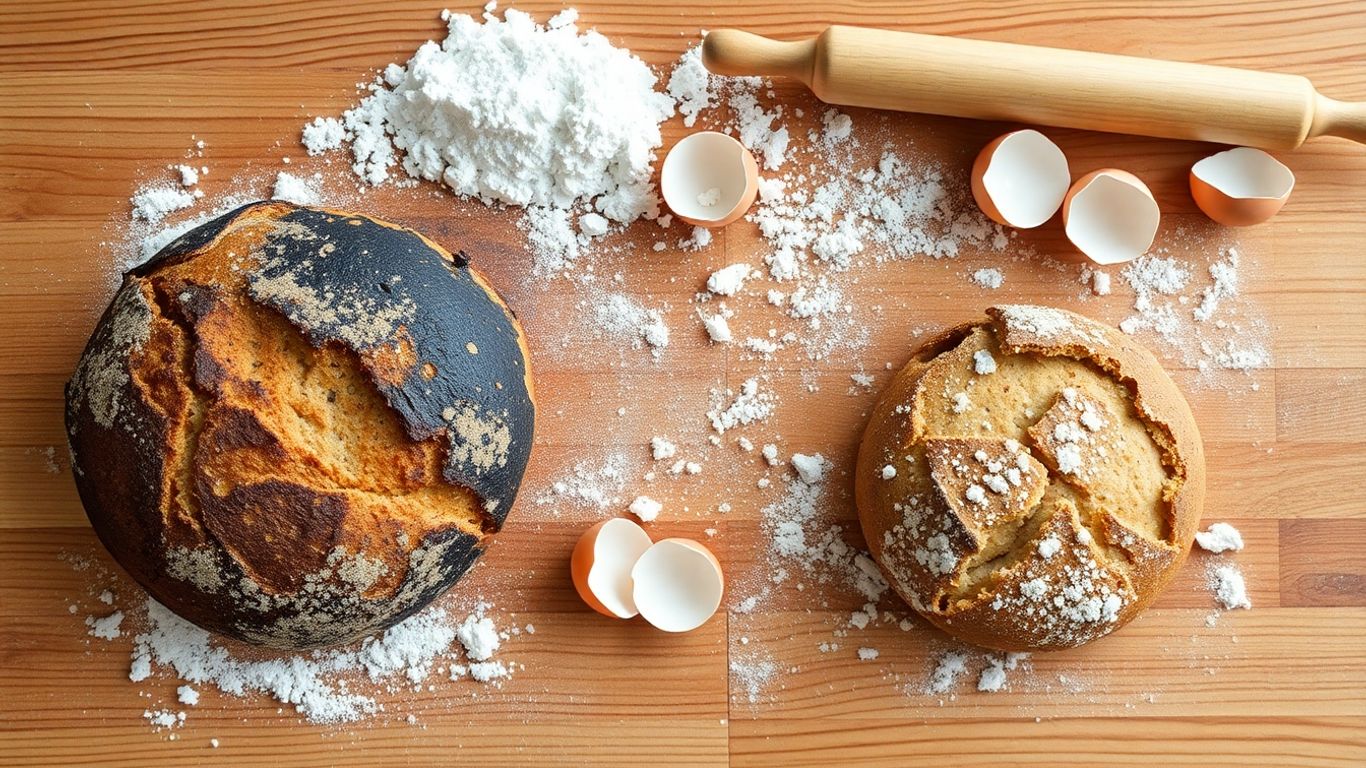
- Baked at a high temperature, often on a stone or steel base, for a deep golden top and a crackling bottom.
- Low to moderate hydration in the dough, so there’s less moisture softening up that crust.
- Steamy ovens at the start of baking help form a shiny shell that hardens into crunchiness.
| Characteristic | Crispy Crust | Chewy Crust |
|---|---|---|
| Sound when sliced | Loud, crackly | Soft thud |
| Colour | Deep golden | Light golden |
| Feel | Brittle, thin | Dense, thick |
That first mouthful is all about contrast—buttery soft crumb meets dramatic crunch.
The Appeal of a Chewy Crust in Artisan Baking
Not everyone is after the crunch. A chewy crust has its own loyal fans. The chew comes from:
- Slightly higher hydration in the dough—more water equals more tenderness.
- Longer fermentation times let gluten develop, giving you that slight resistance as you bite.
- Sometimes the bake time is dialled back just a touch, so the crust stays thicker and bendy instead of shattering.
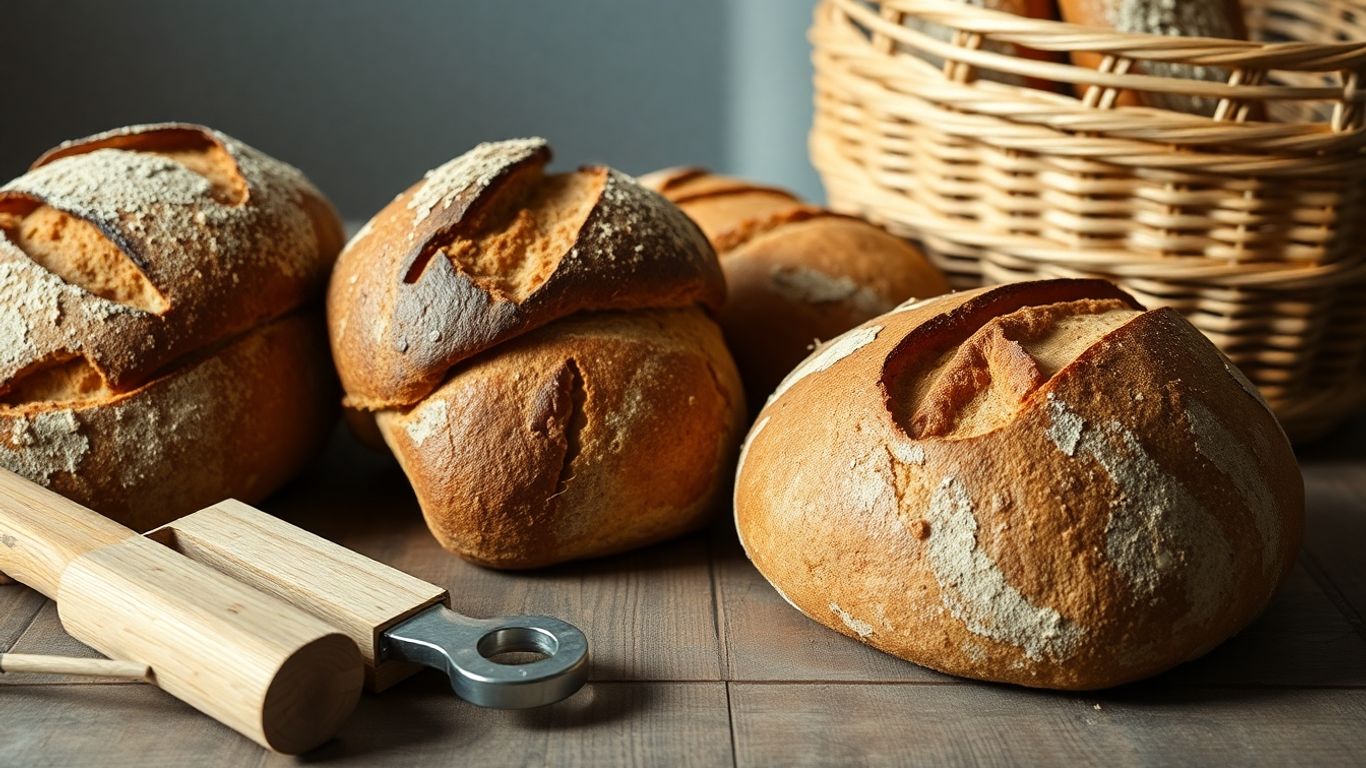
A chewy crust is classic for rustic country loaves, ciabattas, and focaccia. It gives bread a heartfelt, comforting bite, much like your favourite old sweater or a sturdy mug.
Whether you reach for the crunch or find comfort in the chew, crust style is all about the connection you want between your teeth and the loaf—each style tells its own tasty story.
Essential Ingredients and Techniques for Artisan Bread Crust Perfection
Alright, so you’re on the hunt for that perfect crust—one that makes you pause after the first bite, whether it’s crisp, chewy, or that beautiful spot in between. Let’s dig into what really goes on with your dough, and, honestly, it’s not nearly as mysterious as some people make out.
How Flour and Hydration Impact Crust Texture
If you get nothing else from this, remember: the type of flour and how much water you use totally change your bread’s outer layer.
High-protein flour, like strong bread flour, builds a more elastic dough. This means the bread puffs up better and hangs onto its shape. Lower-protein flour, like plain/all-purpose, makes a loaf that’s a bit softer all round. Semolina flour? It gives off a sort of delicate crunch and a lovely nutty flavour. Trust me, even a small swap here and there changes the crust vibe.
Hydration—the water-to-flour ratio—matters just as much. Too much water, you’ll get big bubbles inside but a crust that’s softer and less crunchy unless you blast it with loads of heat. Not enough, and it can go stiff or even a bit cardboard-y. If I’m going for crunch, I keep hydration at about 60%. For a chewier, open crumb, push higher (65%+).
Here’s a quick table for at-a-glance comparison:
| Flour Type | Gluten Content | Crust Result |
|---|---|---|
| Bread | High | Firm, crackly crunch |
| All-purpose | Medium | Soft, thin |
| Semolina | Medium-High | Slight crunch, gold |
Tip: Don’t pour in all your water at once—flours act differently. Aim for a sticky but still shapeable dough.
Role of Fermentation and Dough Handling
Making dough is a bit like raising a kid—it needs patience, just enough discipline, and you’ve got to actually pay attention.
- Fermentation: Let your dough rise longer, especially in the fridge overnight if you can. This makes things taste better, but it also lets the gluten relax, which helps trap air inside while baking and sets up a mix of crunch outside and chew within.
- Dough Handling: Be gentle—if you bash all the bubbles out, you’ll get a sad, flat crust. Knead enough to build strength, but don’t go overboard or you’ll toughen it up and ruin the chew.
- Shaping: When you’re forming your loaf, be careful not to deflate it. Gently stretch and fold if you must. A little bit of tension helps the crust get crispier (something about starches transforming on the surface when they hit hot air).
Letting the dough rise slowly in the fridge does wonders—more flavour, more texture, better crust, honestly, with almost zero extra work.
Finally, don’t be afraid of salt, sugar, or a splash of oil. Salt tightens gluten for better structure, sugar adds a touch of brown (and crisp) when baking, and a dash of olive oil can lead to a slightly tender, crackly outer layer. It’s all about balance, not overload!
Small tweaks—using bread flour instead of all-purpose, or letting your dough relax overnight—will get you so much closer to the bread you dream about when you smell it baking. Baking at home should be fun, not fussy. Just pay attention to these basics, and you’ll notice the difference right away.
Baking Methods and Tools to Enhance Artisan Bread Crust
Getting that perfect artisan bread crust at home feels like magic when it works, but a lot of it comes down to heat, the surface you’re baking on, and a couple of tricks with steam.
Using Stone Ovens, Steels, and Traps for Crust Excellence
The way you bake bread has as much impact on the crust as the recipe itself. Here are a few must-try methods:
- Stone Ovens: Old-school stone ovens are legendary because they hold loads of heat. This means the bottom of your bread gets instantly crisp as soon as it hits the surface. If you’ve got an outdoor pizza oven or access to a wood-fired set-up, you’re already ahead.
- Pizza Stones and Steels: At home, a preheated pizza stone or baking steel works wonders. They radiate intense heat to the bottom of your dough, making it crisp right across—no soggy bottoms. Always preheat for at least 45 minutes for best results.
- Enclosing for Steam: Trap steam by baking bread in a big lidded pot (like a Dutch oven) for the first 20 minutes. This keeps the outside soft while the inside rises, then you remove the lid to finish off the crust and make it crunchy.
| Baking Surface | Preheating Time | Crust Result |
|---|---|---|
| Stone Oven | 60+ min | Crackly, even |
| Pizza Stone | 45 min | Crisp, golden |
| Baking Steel | 45 min | Extra crunchy |
| Baking Sheet | 20 min | Decent, thinner |
A humble baking steel or stone can change your bread game for ever—suddenly, home-made loaves start to taste like something from the Saturday market.
Steam and Heat Control for the Ultimate Crunch
If you’ve ever wondered why bakery bread has that shattery crust, steam is the secret. Here’s how you can master it, even in a home oven:
- Create a steamy environment: Toss some ice cubes or a pan of boiling water into the oven as soon as your bread goes in.
- Use a Dutch oven: Like before, trap the bread for the first part of baking, then let it crisp up uncovered.
- High heat, fast finish: Bake hot—at least 230°C for most artisan loaves—for that quick rise and blistered skin.
A few quick tips:
- Don’t open the oven too early or you lose all the precious steam.
- If the crust is pale but hard, your oven’s probably not hot enough.
- Mix it up between stone, steel, or even an upside-down cast iron pan—each brings its own twist to the crust.
Steam and heat aren’t just for show—get them right and your bread’s crust will go from okay to outstanding, every single time.
Want to bake bread with a really crisp and golden crust? Try different baking methods and use the right tools. Curious to learn more about these simple tricks? Visit our website for easy tips and great ideas!
Wrapping Up: Crunch or Chew?
So, after all this talk about crusts, it’s clear there’s no single right answer—some folks chase that loud, shattering crunch, while others are all about the chewy, stretchy bite. Honestly, it comes down to what you like and maybe even your mood that day. The good news is, with a few tweaks—like playing with oven temp, dough hydration, or even just how you shape your loaf—you can get pretty close to your dream crust at home. Don’t stress if it’s not perfect the first time; half the fun is in the experimenting (and the eating, let’s be real). Next time you’re baking, pay attention to the crust and see what you prefer. Whether you’re team crunch or team chew, there’s room for both at the table. Happy baking!
Frequently Asked Questions
Why is my artisan bread crust not crunchy enough?
If your bread crust isn’t as crunchy as you’d like, it’s usually because there’s too much moisture or not enough heat. Make sure your oven is really hot before you bake. Also, try using a baking stone or steel to help the bottom crisp up. Adding steam at the start of baking can help the crust form, but let the bread bake without steam at the end so it dries out and gets crunchy.
How do I get a chewy crust instead of a hard one?
A chewy crust comes from using the right flour and enough water in your dough. Bread flour is best because it has more protein, which makes the bread stretchy and chewy. Letting your dough rise longer (like overnight in the fridge) can also give you a chewier crust. Don’t bake the bread too long, or the crust will go from chewy to tough.
What’s the easiest way to keep my artisan bread fresh and crispy?
The best way is to let your bread cool completely, then store it in a paper bag or wrap it in a clean tea towel. This lets the crust stay crisp. Don’t use plastic bags because they trap moisture and make the crust soft. If the crust goes soft, you can pop the bread back in a hot oven for a few minutes to make it crunchy again.